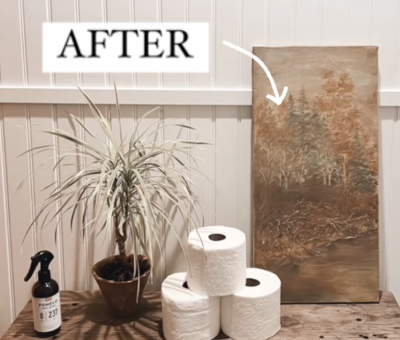
Make it Vintage: Antiquing Paintings June 15, 2022 Lisa Leonard decorating, DIY, get creative, thrifting, vintage love
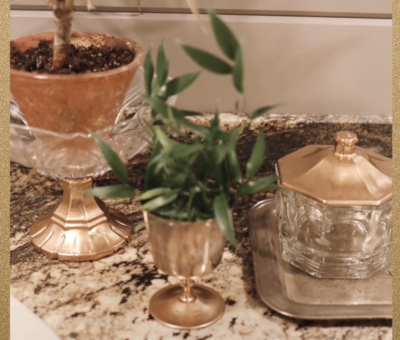
Add a bit of Gold: Upcycling Crystal May 27, 2022 Lisa Leonard decorating, DIY, get creative, thrifting
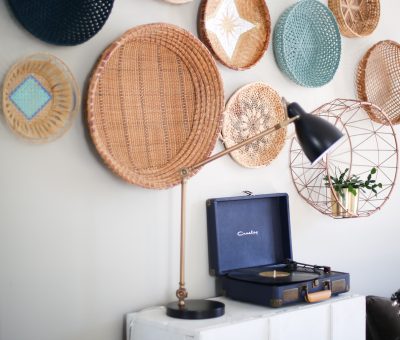
What I Look for When I Go Thrifting May 13, 2022 Lisa Leonard DIY, found here & there, get creative, thrifting
Super Easy Chocolate Covered Strawberries May 5, 2022 Lisa Leonard DIY, family, food & goodies, get creative, videos
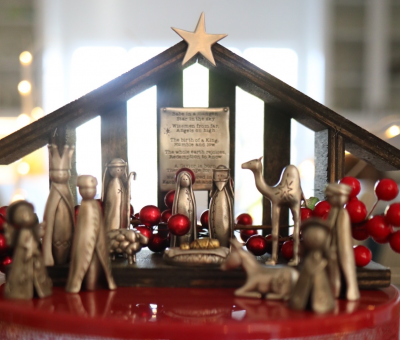
How to display your Christmas nativity scene October 28, 2019 Lisa Leonard christmas, decorating, DIY