This DIY is easy with super fun {and personalized} results! I shared the how-to on Studio5 in Salt Lake City–scroll down to watch the clip and for some tips.
I shopped for mugs at thrift stores and picked up a few at Target.
Studio5 is such a FUN morning show. I wish I lived closer! Brooke is the best.
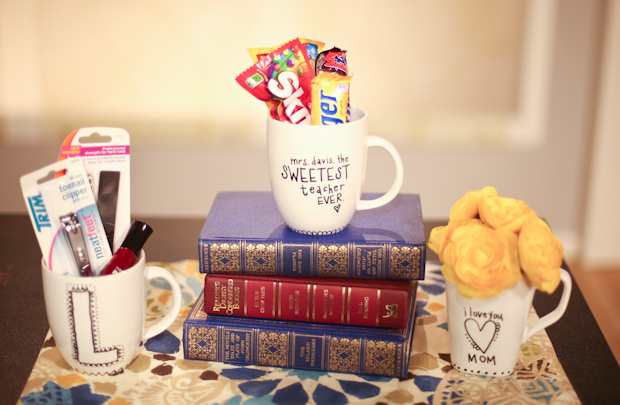
How cute is this teacher gift? Tell her {or him} she’s the sweetest and fill with her favorite candy.
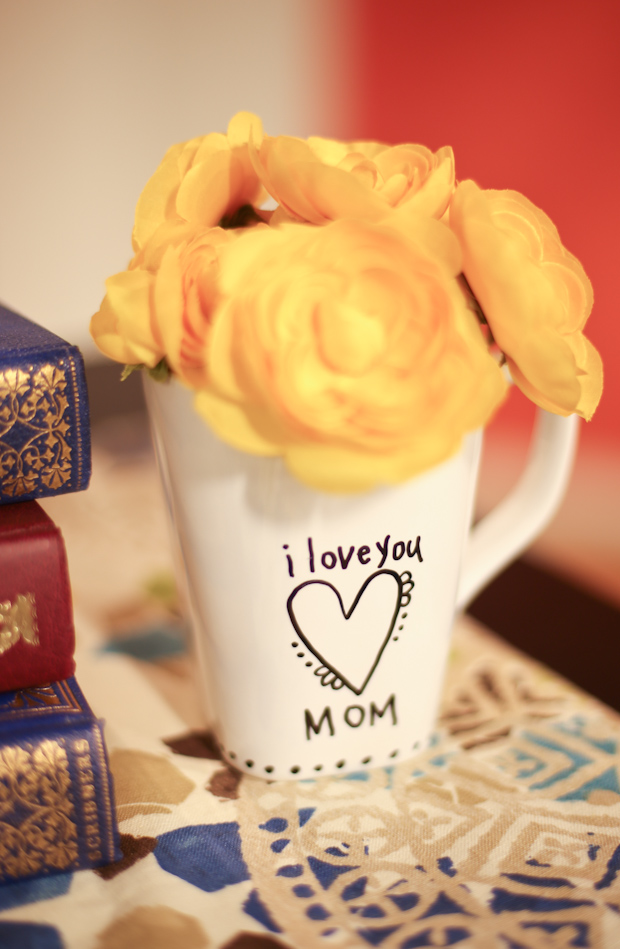
Personalize a mug or vase for mom and fill with fresh flowers.
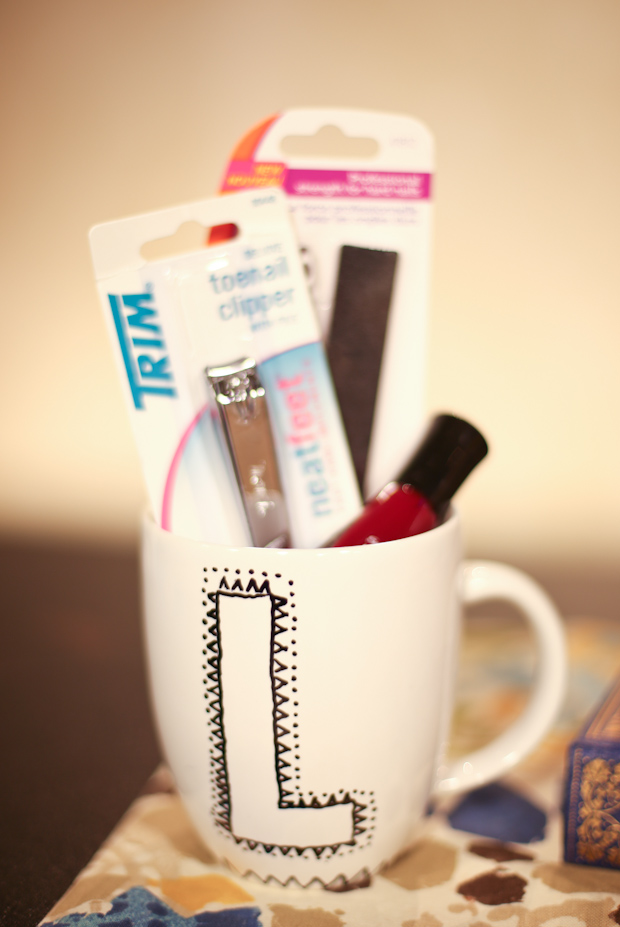
For a bridesmaid or dear friend, how about their initials with nail polish and tools?
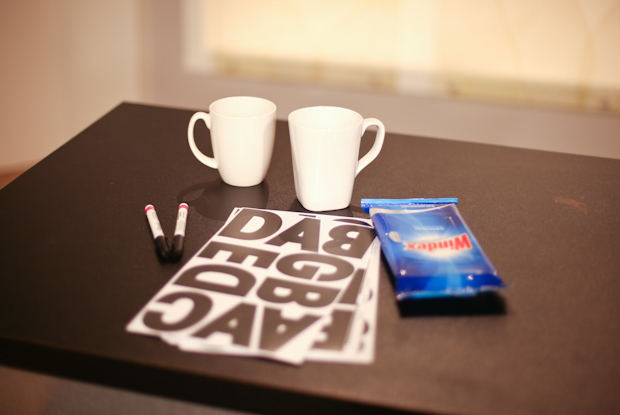
Supplies:
Ceramic mugs or other pieces
Windex wipes or something to clean away dirt and get the surface clean
Oil-based sharpies–I prefer fine tip. Make sure they’re oil based! I found these at Michaels Craft Store.
*Tips*
*Practice your design on paper first
*Keep it simple and sweet
*Consider adding a scalloped edge around the bottom
*Let the pen wobble a bit–it’s hard to keep the pen completely straight
*Use a q-tip and nail polish remover to clean away errors
*Set mug in oven, let oven heat to 350*, bake for 30 minutes, then let oven cool with mug still inside
*hand wash
Want to see the video? Click above for all the details.





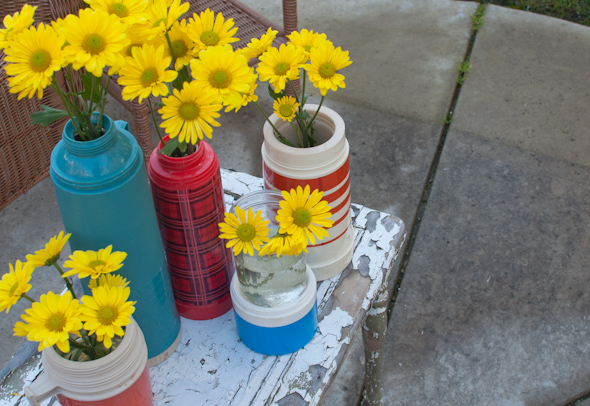
I’m a big fan of personalised mugs, they always brighten up the morning 🙂 Also like the idea of making personalised mugs to uses as vases!
Lisa! I loved the clip. You are so natural and engaging. A very cute idea.
Very cute , easy gift.